-
[안드로이드] fragment 만들기안드로이드(java)/activity, fragment 2019. 11. 12. 23:05
안드로이드 앱 만들 때 activity를 쓰기도 하지만 한 화면에 두개 이상의 화면을 나타내 준다거나 여러 화면을 전환 시켜줄 때 activity 말고 fragment를 사용하기도 하죠. 그래서 fragment를 사용하는 방법에 대해 공부겸 정리 해보도록 합니다.
준비할 것은 따로 없습니다. gradle에 아무것도 추가 안하셔도 바로 적용하실 수 있어요.
[github 주소]
https://github.com/dailyshow/fragmentInit
하나의 activity 위에 버튼이 눌릴 때마다 전환 시킬 4개의 fragment를 적용하려고 합니다.
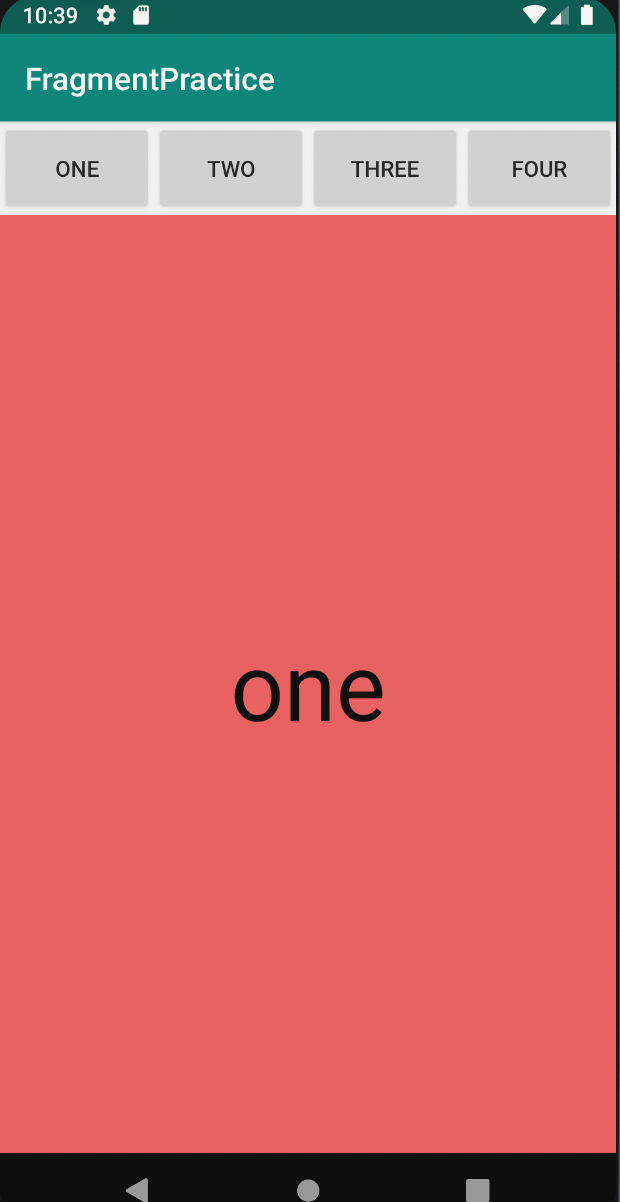
<완성된 화면>
<fragment_one.xml>
12345678910111213141516171819202122<?xml version="1.0" encoding="utf-8"?><androidx.constraintlayout.widget.ConstraintLayoutxmlns:android="http://schemas.android.com/apk/res/android"xmlns:app="http://schemas.android.com/apk/res-auto"android:orientation="vertical" android:layout_width="match_parent"android:layout_height="match_parent"android:background="#F15C5C"><TextViewandroid:id="@+id/tv1"android:layout_width="wrap_content"android:layout_height="wrap_content"android:layout_gravity="center"android:text="one"android:textColor="#000"android:textSize="60sp"app:layout_constraintBottom_toBottomOf="parent"app:layout_constraintEnd_toEndOf="parent"app:layout_constraintStart_toStartOf="parent"app:layout_constraintTop_toTopOf="parent" /></androidx.constraintlayout.widget.ConstraintLayout>cs fragment_one.xml 을 복사 붙여넣기 해서 fragment_two.xml, fragment_three.xml, fragment_four.xml 이렇게 더 만들어 주고 background 색상만 변경해주어서 전환 되었을 때 한 눈에 볼 수있도록 해줍니다.
<FragmentOne.java>
12345678910111213public class FragmentOne extends Fragment {@Nullable@Overridepublic View onCreateView(@NonNull LayoutInflater inflater, @Nullable ViewGroup container, @Nullable Bundle savedInstanceState) {return inflater.inflate(R.layout.fragment_one, container, false);}@Overridepublic void onViewCreated(@NonNull View view, @Nullable Bundle savedInstanceState) {super.onViewCreated(view, savedInstanceState);}}cs FragmentOne.java 도 마찬가지로 복사 붙여넣기 해서 FragmentTwo.java, FragmentThree.java, FragmentFour.java 이렇게 추가적으로 만들어 주고 inflater.inflate() 첫 번째 파라미터 부분을 각각에 맞도록 R.layout.fragment_two, R.layout.fragment_three, R.layout.fragment_four이렇게 맞춰줍니다.
fragment 로 나타날 화면 4개를 다 완성 하였으면 이제 메인을 만들 차례입니다.
<activity_main.xml>
12345678910111213141516171819202122232425262728293031323334353637383940414243444546474849505152<?xml version="1.0" encoding="utf-8"?><LinearLayout xmlns:android="http://schemas.android.com/apk/res/android"xmlns:app="http://schemas.android.com/apk/res-auto"xmlns:tools="http://schemas.android.com/tools"android:layout_width="match_parent"android:layout_height="match_parent"android:orientation="vertical"tools:context=".MainActivity"><LinearLayoutandroid:layout_width="match_parent"android:layout_height="0dp"android:layout_weight="1"android:orientation="horizontal"><Buttonandroid:id="@+id/one"android:layout_width="0dp"android:layout_height="match_parent"android:layout_weight="1"android:text="one" /><Buttonandroid:id="@+id/two"android:layout_width="0dp"android:layout_height="match_parent"android:layout_weight="1"android:text="two" /><Buttonandroid:id="@+id/three"android:layout_width="0dp"android:layout_height="match_parent"android:layout_weight="1"android:text="three" /><Buttonandroid:id="@+id/four"android:layout_width="0dp"android:layout_height="match_parent"android:layout_weight="1"android:text="four" /></LinearLayout><LinearLayoutandroid:id="@+id/fragment_container"android:layout_width="match_parent"android:layout_height="0dp"android:layout_weight="10"android:orientation="vertical" /></LinearLayout>cs <MainActivity.java>
12345678910111213141516171819202122232425262728293031323334353637383940414243444546474849505152535455565758596061626364public class MainActivity extends AppCompatActivity implements View.OnClickListener {FragmentManager manager;FragmentTransaction ft;FragmentOne fragmentOne;FragmentTwo fragmentTwo;FragmentThree fragmentThree;FragmentFour fragmentFour;@Overrideprotected void onCreate(Bundle savedInstanceState) {super.onCreate(savedInstanceState);setContentView(R.layout.activity_main);manager = getSupportFragmentManager();Button one = findViewById(R.id.one);Button two = findViewById(R.id.two);Button three = findViewById(R.id.three);Button four = findViewById(R.id.four);fragmentOne = new FragmentOne();fragmentTwo = new FragmentTwo();fragmentThree = new FragmentThree();fragmentFour = new FragmentFour();ft = manager.beginTransaction();ft.add(R.id.fragment_container, fragmentOne);ft.addToBackStack(null);ft.commit();one.setOnClickListener(this);two.setOnClickListener(this);three.setOnClickListener(this);four.setOnClickListener(this);}@Overridepublic void onClick(View v) {ft = manager.beginTransaction();int id = v.getId();switch (id) {case R.id.one:ft.replace(R.id.fragment_container, fragmentOne);ft.commit();break;case R.id.two:ft.replace(R.id.fragment_container, fragmentTwo);ft.commit();break;case R.id.three:ft.replace(R.id.fragment_container, fragmentThree);ft.commit();break;case R.id.four:ft.replace(R.id.fragment_container, fragmentFour);ft.commit();break;}}}cs 버튼을 누르면 화면 전환이 잘 되실 겁니다.
여기까지 하시면 fragment 기본 틀은 완성입니다.
각 내용물은 원하시는대로 채우시면 됩니다~~
아래는 완성된 화면 영상입니다.
'안드로이드(java) > activity, fragment' 카테고리의 다른 글
[안드로이드] 한방에 모든 액티비티 종료하기 (0) 2018.10.25