-
[안드로이드] Retrofit GET 방식 간단 예제1안드로이드(java)/기능 관련 2019. 11. 14. 14:46
이번에는 네트워크 통신에서 가장 많이 사용되고 있는 Retrofit에 대해서 간단한 사용방법을 확인해 보도록 하겠습니다.
[완성 소스 github 주소] https://github.com/dailyshow/retrofitGet
Retrofit에 대한 정보는 https://square.github.io/retrofit/여기에서 보실 수 있습니다.
네트워크 통신으로 가져올 정보는 http://jsonplaceholder.typicode.com/ 내용 중 GET /posts 부분 입니다.
위의 주소로 접속하신 후 /posts 를 눌러보시면 JsonArray 안에 여러개의 JsonObject가 들어있는 것을 확인 하실 수 있습니다.
[ { "userId": 1, "id": 1, "title": "sunt aut facere repellat provident occaecati excepturi optio reprehenderit", "body": "quia et suscipit\nsuscipit recusandae consequuntur expedita et cum\nreprehenderit molestiae ut ut quas totam\nnostrum rerum est autem sunt rem eveniet architecto" }, { "userId": 1, "id": 2, "title": "qui est esse", "body": "est rerum tempore vitae\nsequi sint nihil reprehenderit dolor beatae ea dolores neque\nfugiat blanditiis voluptate porro vel nihil molestiae ut reiciendis\nqui aperiam non debitis possimus qui neque nisi nulla" }, { "userId": 1, "id": 3, "title": "ea molestias quasi exercitationem repellat qui ipsa sit aut", "body": "et iusto sed quo iure\nvoluptatem occaecati omnis eligendi aut ad\nvoluptatem doloribus vel accusantium quis pariatur\nmolestiae porro eius odio et labore et velit aut" }, ... ]
이러한 내용을 안드로이드 에뮬레이터로 나타나도록 해보는것이 목표입니다.
우선은 build.gradle(module: app) 에 dependencies 를 추가해 주도록 합니다.
implementation 'com.squareup.retrofit2:retrofit:2.4.0'
implementation 'com.squareup.retrofit2:converter-gson:2.4.0'그리고 아래는 소스 코드들 입니다.
<activity_main.xml>
123456789101112131415161718192021222324252627<?xml version="1.0" encoding="utf-8"?><androidx.constraintlayout.widget.ConstraintLayoutxmlns:android="http://schemas.android.com/apk/res/android"xmlns:app="http://schemas.android.com/apk/res-auto"xmlns:tools="http://schemas.android.com/tools"android:layout_width="match_parent"android:layout_height="match_parent"android:padding="8dp"tools:context=".MainActivity"><androidx.core.widget.NestedScrollViewandroid:layout_width="match_parent"android:layout_height="match_parent"><TextViewandroid:id="@+id/text_view_result"android:layout_width="wrap_content"android:layout_height="wrap_content"android:textColor="#000"app:layout_constraintBottom_toBottomOf="parent"app:layout_constraintLeft_toLeftOf="parent"app:layout_constraintRight_toRightOf="parent"app:layout_constraintTop_toTopOf="parent" /></androidx.core.widget.NestedScrollView></androidx.constraintlayout.widget.ConstraintLayout>cs <Post.java>
1234567891011121314151617181920212223242526272829303132public class Post {/*** {* "userId": 1,* "id": 1,* "title": "sunt aut facere repellat ~~~",* "body": "quia et suscipit\nsuscipit ~~~"* },*/int userId;int id;String title;@SerializedName("body")String text;public int getUserId() {return userId;}public int getId() {return id;}public String getTitle() {return title;}public String getText() {return text;}}cs 14번째 줄 String text 위에 있는 @SerializedName("body") 는 가져오려는 Json 에서 지정한 key 값과 여기서 사용하려는 이름을 달리 사용하기 위해 원래 있던 Json의 key 값을 지정합니다.
<JsonPlaceHolderApi.java>
12345public interface JsonPlaceHolderApi {@GET("posts")Call<List<Post>> getPost();}cs GET 방식으로 요청하고 base URL 뒤에 붙을 주소로 posts를 지정해 주었습니다.
(http://jsonplaceholder.typicode.com/posts) 요청하는 주소 입니다.
<MainActivity.java>
12345678910111213141516171819202122232425262728293031323334353637383940414243444546474849public class MainActivity extends AppCompatActivity {private final String BASEURL = "http://jsonplaceholder.typicode.com/";private TextView textViewResult;@Overrideprotected void onCreate(Bundle savedInstanceState) {super.onCreate(savedInstanceState);setContentView(R.layout.activity_main);textViewResult = findViewById(R.id.text_view_result);Retrofit retrofit = new Retrofit.Builder().baseUrl(BASEURL).addConverterFactory(GsonConverterFactory.create()).build();JsonPlaceHolderApi jsonPlaceHolderApi = retrofit.create(JsonPlaceHolderApi.class);Call<List<Post>> call = jsonPlaceHolderApi.getPost();call.enqueue(new Callback<List<Post>>() {@Overridepublic void onResponse(Call<List<Post>> call, Response<List<Post>> response) {if (!response.isSuccessful()) {textViewResult.setText("code: " + response.code());return;}List<Post> posts = response.body();for (Post post : posts) {String content = "";content += "ID: " + post.getId() + "\n";content += "User ID: " + post.getUserId() + "\n";content += "Title: " + post.getTitle() + "\n";content += "Text: " + post.getText() + "\n";textViewResult.append(content);}}@Overridepublic void onFailure(Call<List<Post>> call, Throwable t) {textViewResult.setText(t.getMessage());}});}}cs 여기까지 진행 하셨다면 소스는 완성 되었습니다.
여기에 추가적으로 진행해줘야 하는건 Manifests 에서 인터넷 권한을 추가해주는것이 필요하겠죠.
<AndroidManifests.xml>
1<uses-permission android:name="android.permission.INTERNET"/>cs 이렇게 인터넷 권한을 부여하고 실행하면 제대로 나오지 않고 아래 화면처럼 나타날 겁니다.
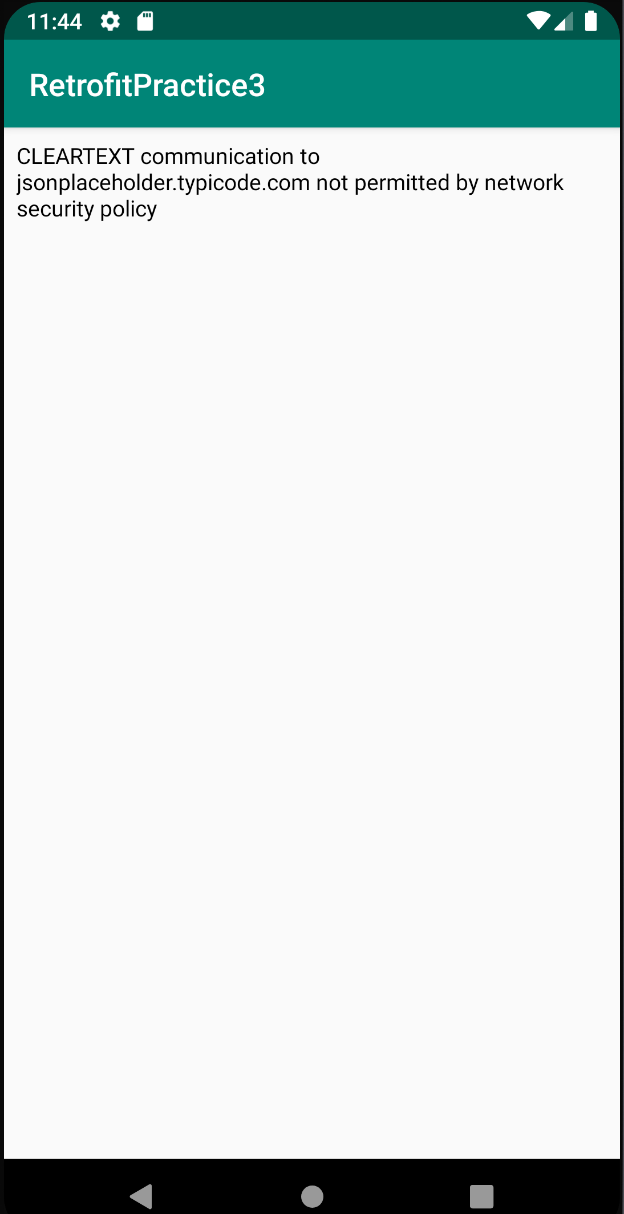
network 를 통해서 요청할 때 cleartext 네트워크 트래픽을 사용하면 나타나는 보안정책 관련 문구 입니다.
https 가 아니라 http 를 사용했기 때문에 나타납니다.
화면에 제대로 나타내기 위해서는 Manifests에 한 줄 추가해 주셔야 합니다.
123456789101112131415161718192021222324<?xml version="1.0" encoding="utf-8"?><manifest xmlns:android="http://schemas.android.com/apk/res/android"package="com.example.retrofitpractice3"><uses-permission android:name="android.permission.INTERNET"/><applicationandroid:allowBackup="true"android:icon="@mipmap/ic_launcher"android:label="@string/app_name"android:roundIcon="@mipmap/ic_launcher_round"android:supportsRtl="true"android:usesCleartextTraffic="true"android:theme="@style/AppTheme"><activity android:name=".MainActivity"><intent-filter><action android:name="android.intent.action.MAIN" /><category android:name="android.intent.category.LAUNCHER" /></intent-filter></activity></application></manifest>cs 13 번째 줄에 있는 usesCleartextTraffic 을 true 로 주시면 됩니다.
여기까지 하신 후 실행하시면 제대로 잘 나타날 겁니다.
<동작 영상>
이상 간단한 retrofit get 방식 사용 방법이었습니다~
'안드로이드(java) > 기능 관련' 카테고리의 다른 글
[안드로이드] Retrofit POST 방식 간단 예제 (0) 2019.11.19 [안드로이드] Retrofit GET 방식 간단 예제 2 (0) 2019.11.14 [안드로이드] FCM 메시지 전송 될 때 진동 되지 않는 증상. (0) 2019.04.03 [안드로이드] ListView 사용하기 (0) 2019.01.30 [안드로이드] RecyclerView 사용하기 (0) 2019.01.27